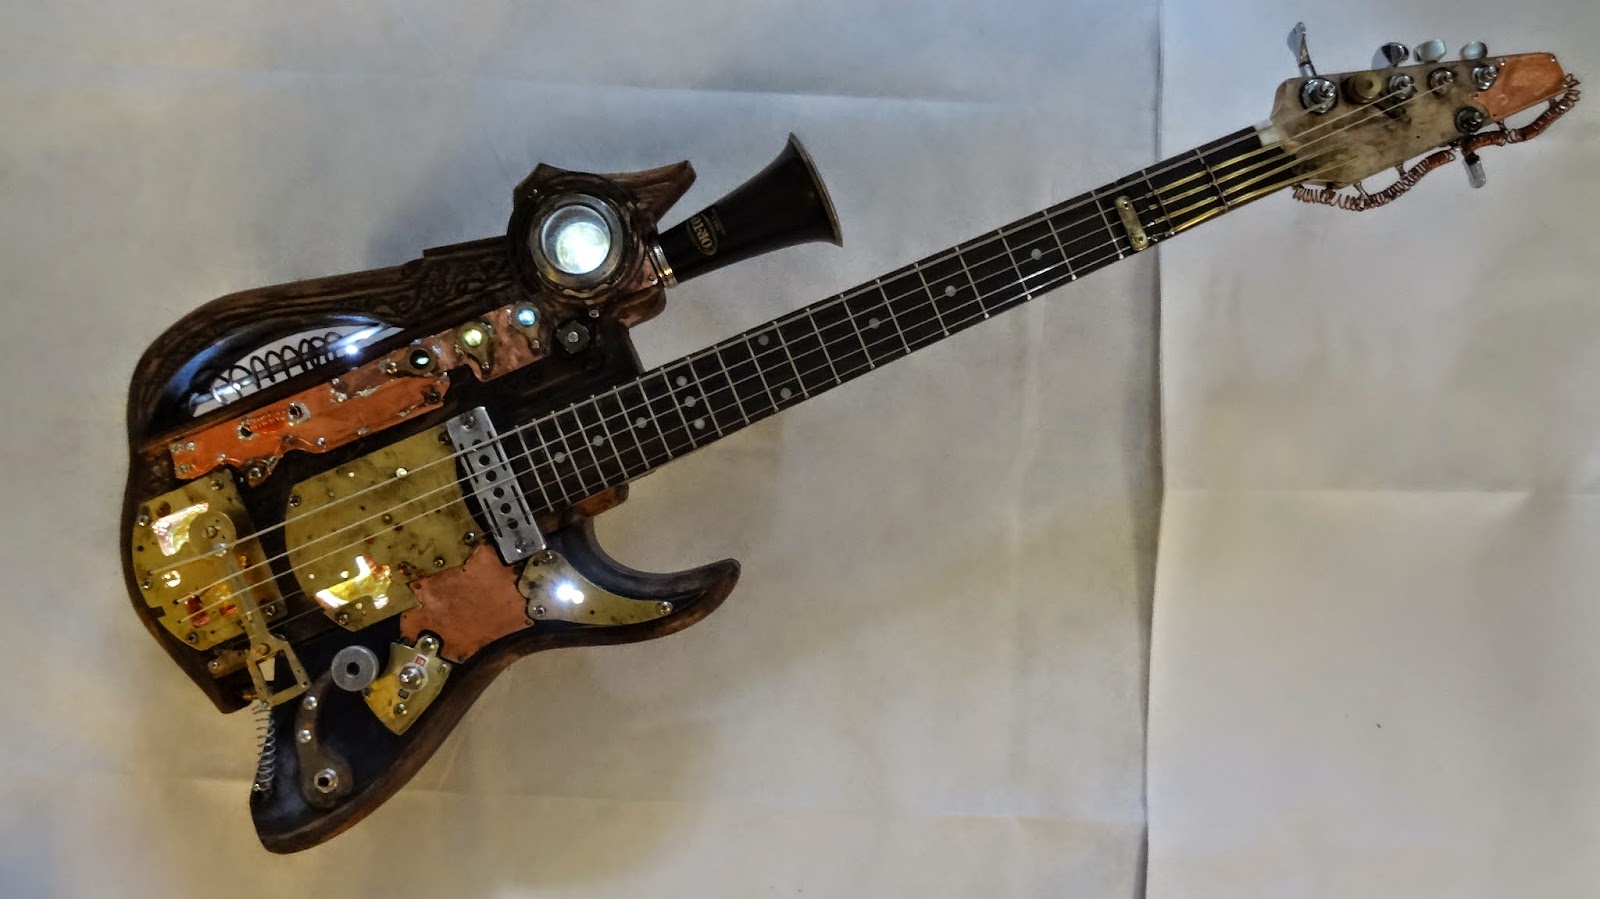
The beauty of cigar box guitars is there simplicity. and the simplest way to make one is to tack a long thin piece of wood to the lid of a box with some holes in. attach some strings and away you go. Of course you can go further to get the best out of an instrument. Construction methods vary from builder to builder and even my construction methods vary depending on each box I make a guitar from and what end result I want to achieve.
This post concentrates on a 3 string fretted cigar box guitar with a magnetic pickup That I built for a commission. The customer supplied me with a pickup and chose the vintage Cuban box from my stock.
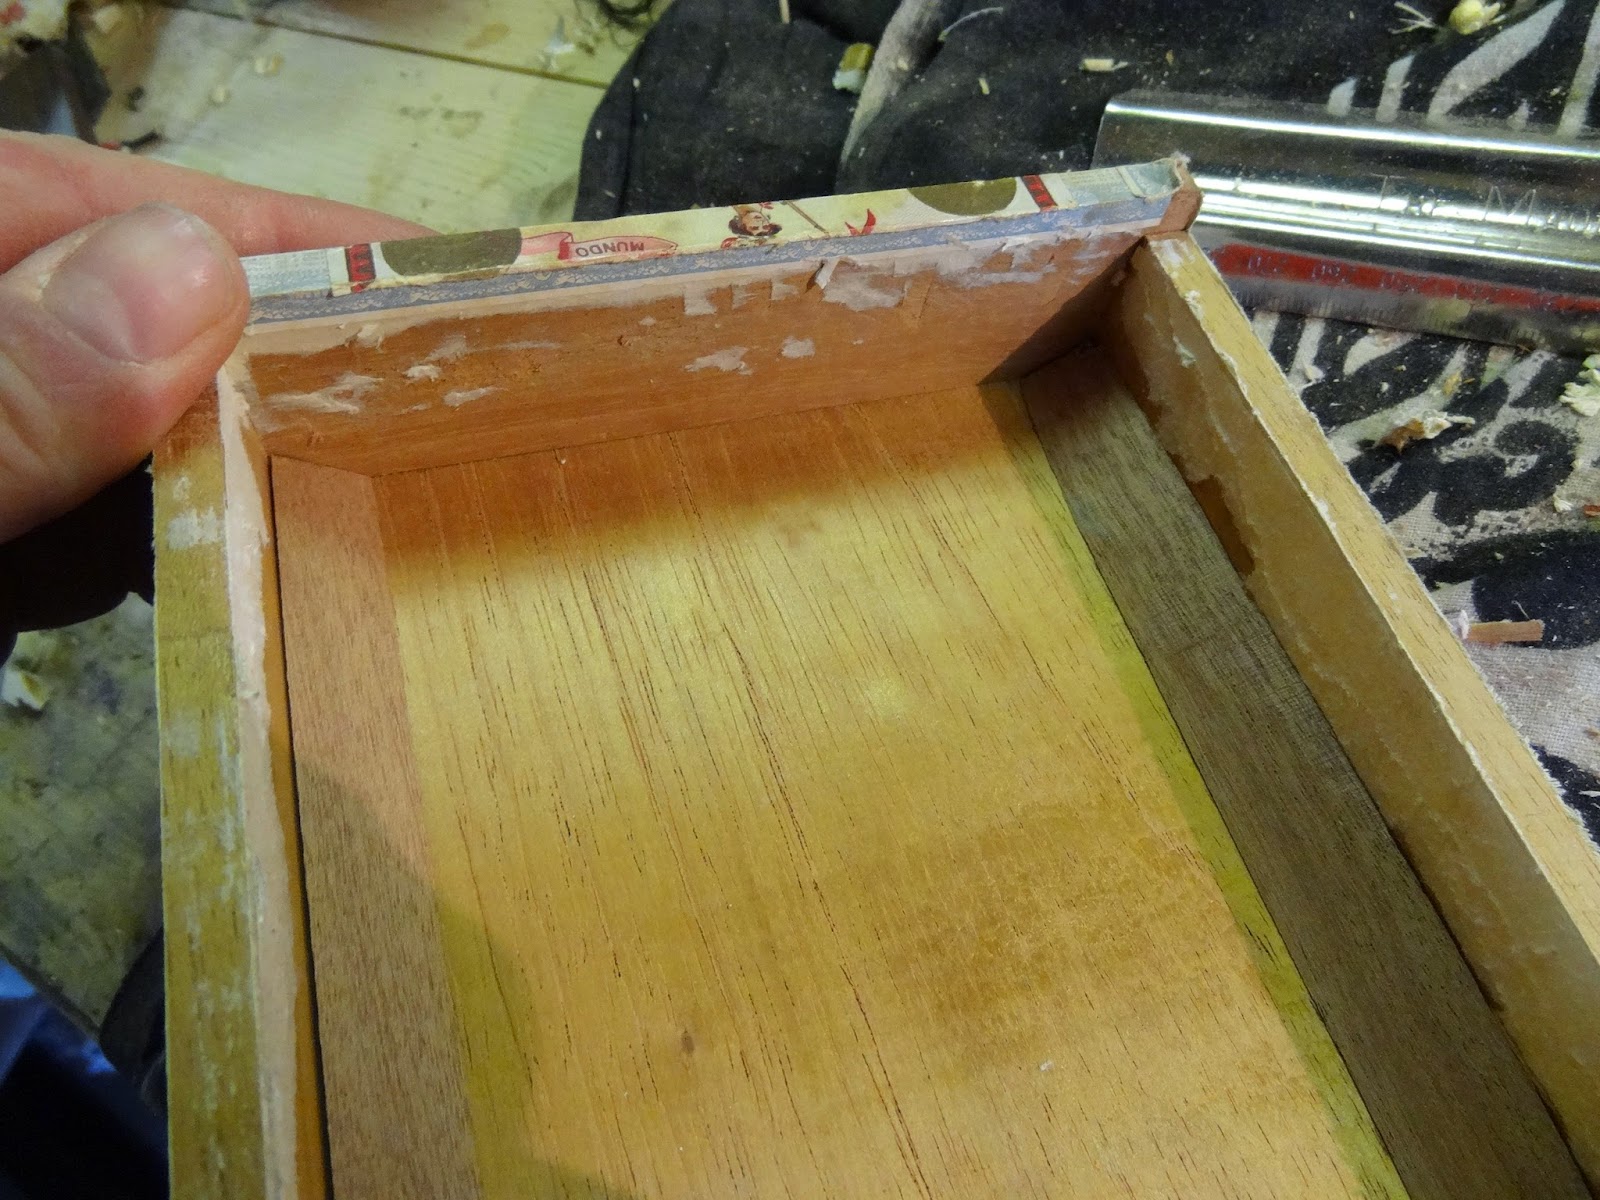
The first thing to do is to remove as much as possible the labels from inside the box that are in areas that will have other parts glued to them. It may be ok to glue on top of the labels but sometimes the paper is folded or may have thicker glue or might be old and not be actually adhered that well so I prefer to avoid the risk and go for wood to wood gluing. I use a chisels, scrapers and sandpaper.
Removing the inner labels.
I want to keep the inner lid label so I can cover the headstock. The way I do this is to soak a cloth or large flat sponge (I find J cloths work well) with water and sit the lid on with the surface you want to remove on the sponge/cloth. Leave it for a few hours (you maight want to check want to re-wet the cloth occasionally) and it should peel off relatively easily. You may need to just use a sharp edge to help separate the label as you can see I had to from the marks in the wood. The only downside is your lid will most definitely warp. Luckily for me this one hardly warped and went back to being flat once it was dry. Mostly it is not a problem as by the time you have braced the lid (if needed) and attached the lid back on the body it will be flat anyway. If it really warps you can put it to dry between two heavy pieces of thick wood with kitchen paper for a couple of days
Soaking the inner lid label
Off it comes.
Being electric I don't really have to worry about the acoustic properties. As it's fretted I do have to think about the stability and playability. Although the box is a fairly robust one made with 5mm thick wood it is quiet small and vary light so using offcuts I make corner supports to go inside the box and lid supports. There's no fixed rule I tend to make sure all the inner corners are re-enforced. Quite often cigar boxes are only tacked together with pins and will quite easily fall apart which is something you don't want to happen once it has been made into a guitar. Any that I add will aslo add weight which is welcome.
re-enforcement bracings.
In Place
Notice the area left for the jack socket.
Blocks for the lid to rest on.
This the sort of neck joint I make. The vertical slot is for the wall of the box to slot into and there is a little shelf which hopefull the lid will rest on. Further adjustments will have to be made throughout the process. I mostly always have a gap between the neck and lid as I feel it lends more of a semi acoustic tone.
Nice fit.
Using this method makes a much more secure join with no gaps into the box unlike a lot of cigar boxes that you see.
On to the neck which is a nice length of reclaimed quarter sawn Sapele. The pickup has a paduak cover so I thought It best to have a paduak fretboard to match.
I have inlayed position markers that cover the front and side at the same time killing two birds with one stone. Actually they are a bit fiddly. but look nice. I try to make them so the lower edge lines up with the bass string.
Here is the headstock with inner label attached. It has quite a long waist It leaves a nice bit of room to tie your strap to. remember to sand your fretboard to as fine a finish as possible before fretting as it's very difficult to do it afterwards.
I won't go into the fretting process here as it's a failry standard technique which is easily researched elsewhere.
The neck all glued in. Although this method is quite well thought out it is still never perfect. I use veneer shims to fill in any gaps. they are also usefull to make sure the neck is at the right angle both laterally and horizontally. There are also shims underneath this one as the neck is very flat and I will need to have a greater string break over the bridge. Notice the addition of 4 blocks of wood along the side. The lid is going to be screwed on to make it easier for accessibility to the electrics. also the addition of a cutout for the pickup in the neck.
The pickup supplied by customer.
All wired up. There is nothing special about the wiring. 1 pickup 1 volume 1 tone. Pickup wiring diagrams are easily available on the internet.
All that remains is to finish your guitar. My preferred method is Danish oil as a primer basecoat with a Spray matt lacquer. On this one I only applied oil to the Neck as it will badly discolour the labels. Then fit the hardware you want. string it up and play it. I'm not a fan of bolt or key bridges as I find they move about too much or rattle so I make my own floating wooden bridges. This one a has a shim which connects by two pins to raise the action for more dedicated slide playing.
I also made a Brass tailpiece which leaves as much of the label visible.