Showing posts with label Tips and tricks.. Show all posts

Monday, 8 February 2016

How to make an easy string Ukulele Bridge.

Following is a really easy method to make 2 bridges for your cigar box Ukulele or equally good for a normal Ukulele. This bridge allows for really easy stringing method by simply tying a knot in the end of your string and slotting them in the back. You could follow this method for bridges with any amount of strings and depending on the toughness of the wood May be suitable for steel strings too although Ive only used it for Ukes. P.S The dimensions are by no means set in stone feel free to make it smaller bigger. Its up to you. This takes about 1/2 an hour to make two bridges using a bandsaw A pillar drill, slot cutting bit on the pillar drill and belt sander This should be fairly straight forward to do with handsaws and a hand held drill.

First you need a Block of Hardwood approximately 90mm long by 25mm square This is Aformosia
The next step is to mark cetre lines along one face this will be the rear or the bridge


 And then mark a line approx. 10mm from the rear  on either of the other faces which will be the top face
You can mark your saddle slot at this point to fit your saddle this one is 2mm from the front face and 2mm thick.
 On the rear centre line mark out your string spacing usually from 13 - 15mm these are 14mm
Then extend those lines to the line on top face


 Then 1mm in front of the line on the top face and at central points between the 1st and 2nd string line and 3rd and 4th string line mark 2 points. These will be the holes for your mounting screws.


Drill 4 10mm Holes on the centre point on the rear of the bridge 10mm deep


 Cut your saddle Slots. either with a saw chisel or I use a thin rotary slot cutting disc on a pillar drill.


 Cut the saddle slots to your required depth on both sides. You could probably just stick a fret or thin piece of saddle material on the top of the block forgoing the slot which can be a bit tricky without a slot cutting bit


At the points marked earlier on the top drill 2, 3mm holes right through the block


Then along the string centres cut 4 slots up to the 10mm line from the rear.


Then cut the block in half hey presto you now have two bridge blanks.
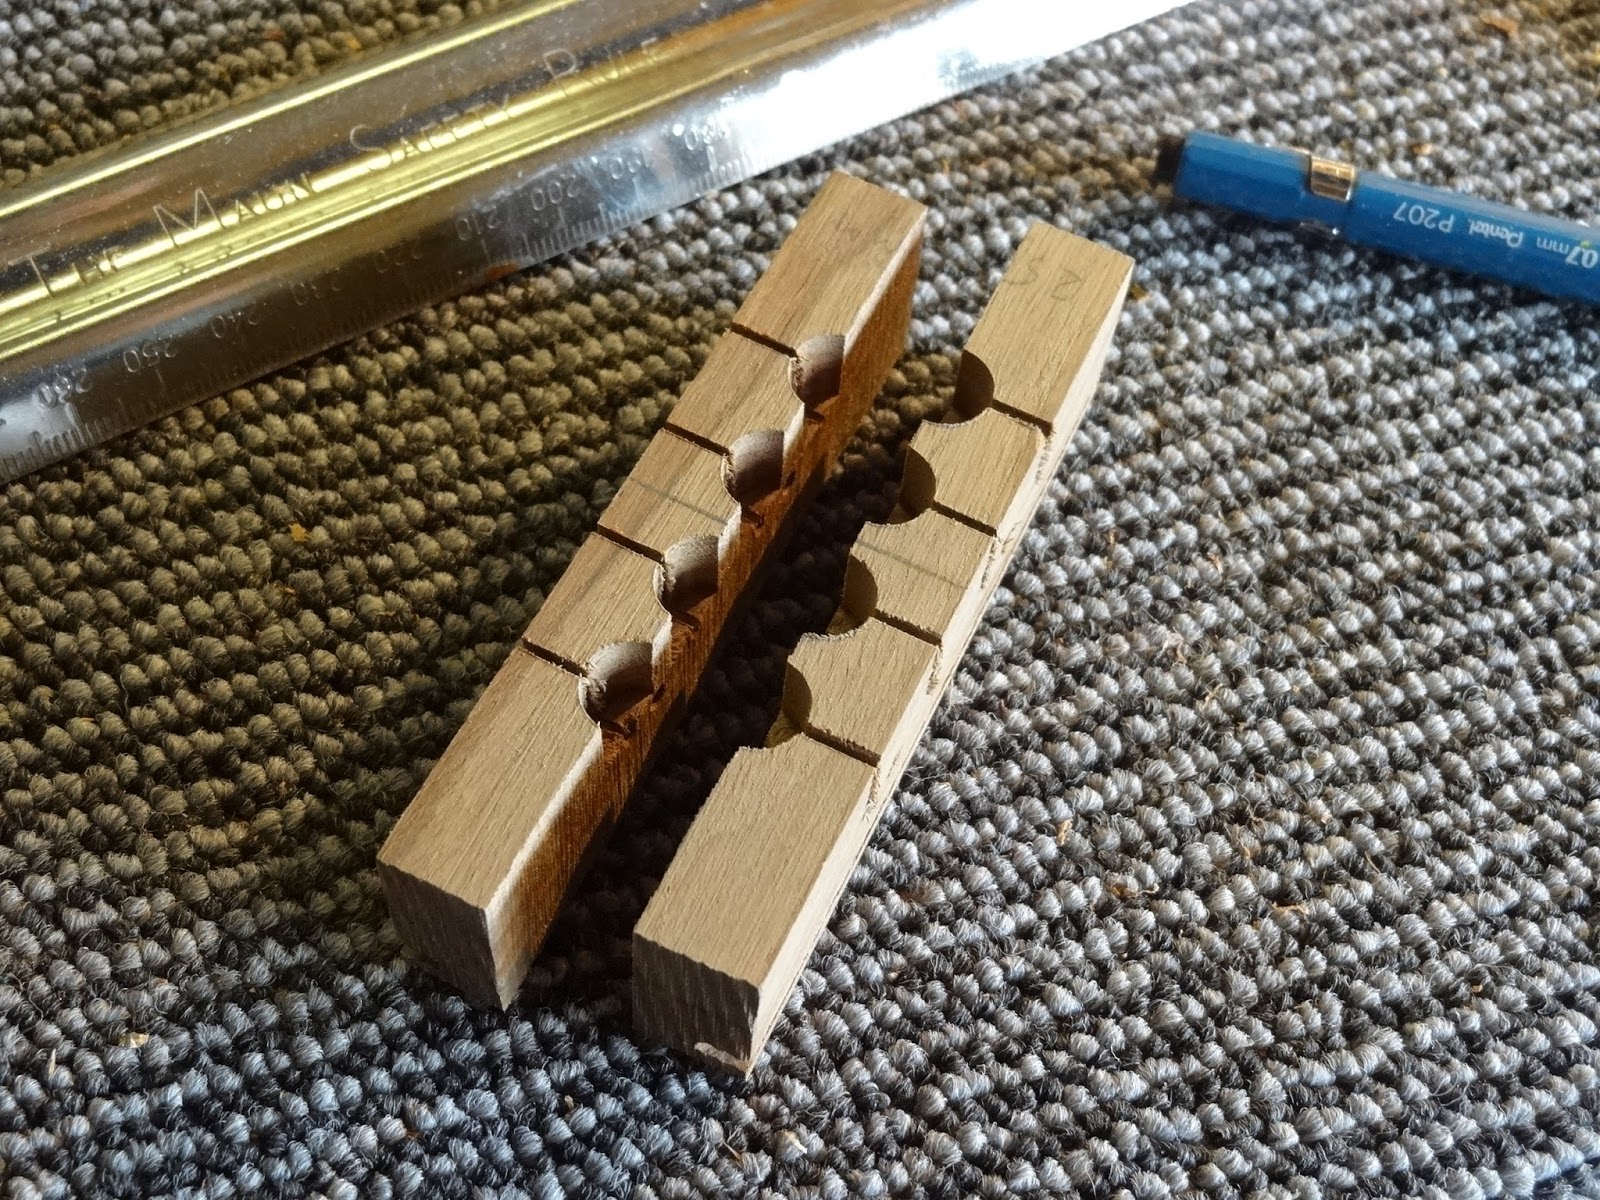

Then you need to sand the bottom just enough to get a flat surface


Then sand down the top so the Bridge is about 10mm thick You might want it a bit thinner or thicker to suit your particular build. You can leave the bridge square at this point or like I have on this one shape it. I do mine on a belt sander.
You may need to slightly widen the 2nd and 3rd string slot to accommodate the wider strings.
Finally countersink 6mm holes into the mounting screw holes about 5mm deep. Enough for the mounting screw to be recessed below the surface. the hole can then be filled with filler or plugged with a dowell or for a really nice touch place a fret marker dot that matches the fret board in the top.
Finally fine sand and its ready to fit to your Ukulele


Saturday, 31 October 2015

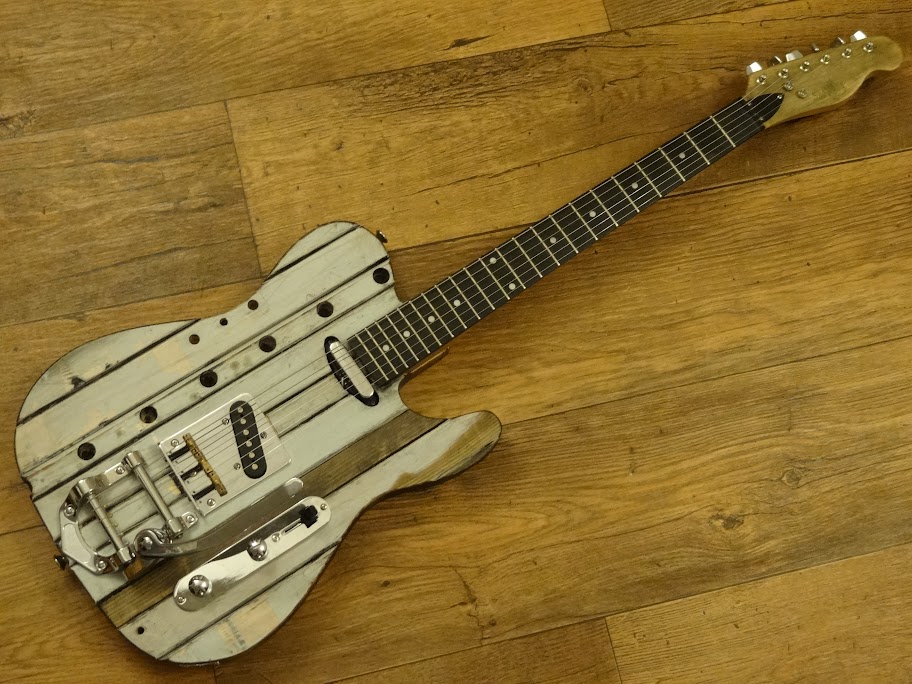
Fitting a Horseshoe Vibrato (Bigsby style) To a Telecaster. ShonKy Bedcaster

Recently I made  a Tele shaped guitar out of my daughters redundant cot bed.
I basically laminated the thicknessed planks together and routed out the shape. The neck and all other parts where recycled and I put a new budget electrical control plate on.
To get a quick sale and a bit of cash in the coffers I put it on ebay for auction.
As with all my guitars I sell I offer to upgrade any pickups and parts and the buyer wanted a Bigsby style tremolo.
There aren't many options for fitting one to a tele. You have the official Bigsby Unit with the replacement bridge and pickup plate which is beautiful and very expensive. (more than the guitar sold for)  There is also the stetsbar unit which is pretty cool looking bit of kit but also very expensive. .
Other options are taking the bridge off completely Making a separate plate to hold the pickup and fitting a TOM roller bridge or in this case adapting the bridge plate.
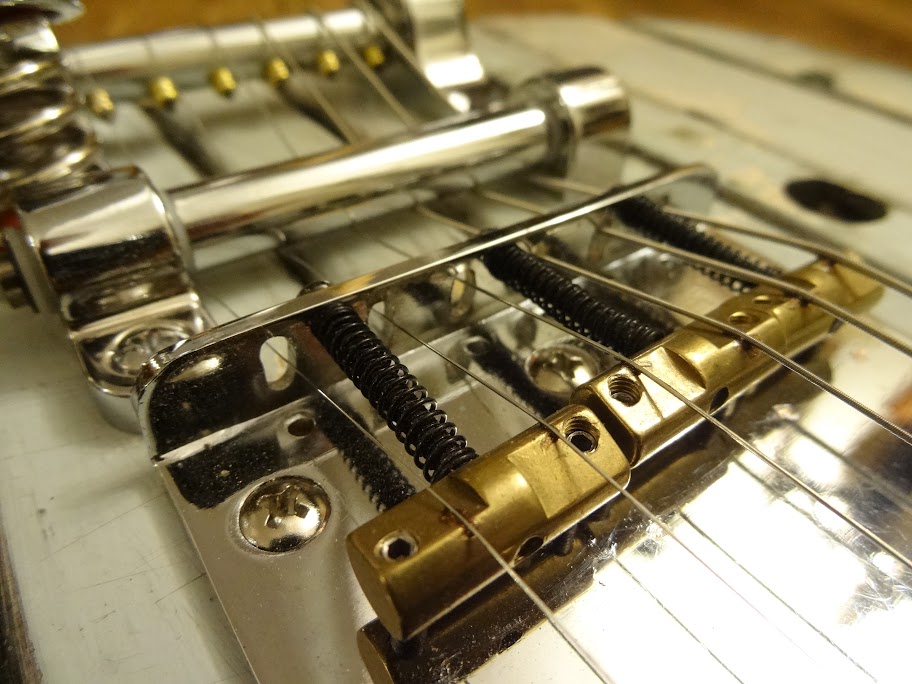
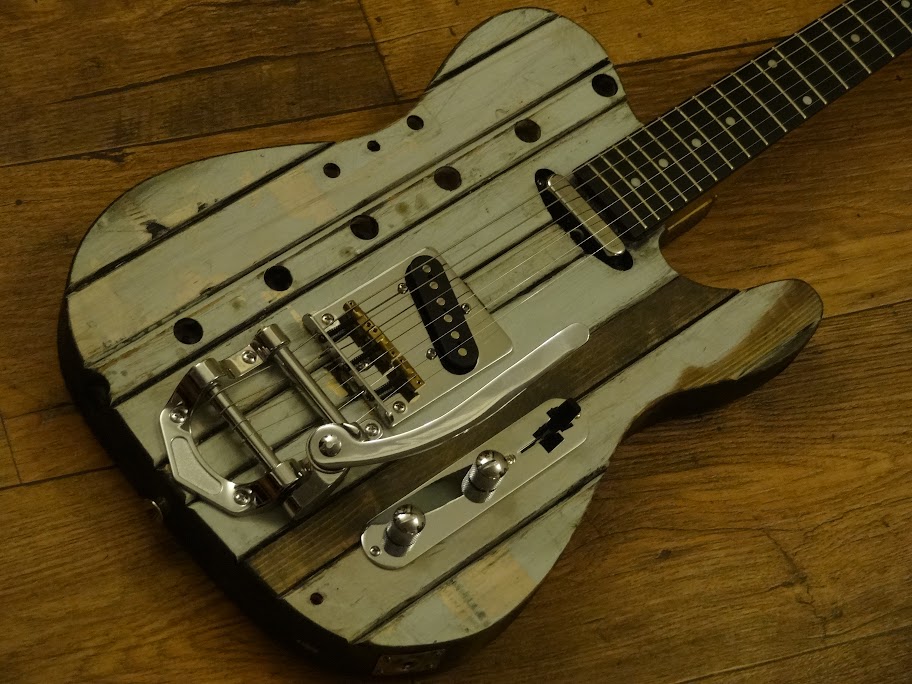
This one had a top stringing bridge but with 6 individual strat style saddles. To have the strings going from the bigsby through the holes in the back and then through each individual saddle was going to cause no end of problems with the strings catching on all that. so I swapped the bridge for a 3 saddle plate and put some wilkinson brass compensated saddles on. I simply elongated the holes so the strings would pass freely through them without touching anything, attached the bigsby strung it up and hey presto job done.

One final tip. the strings will rock the saddles when operating the vibrato Due to the sharp apex of the compensated saddle and the raised height of them causing a creaking noise I simply put a little touch of copper lube in between string and saddle which eliminated this. It would probably need to be done on a regular basis I expect over time the strings will wear a groove and it will be less of a problem.
Anyhow guitar is with it's new happy owner now. Heres a couple more pics of the finished guitar.

Wednesday, 5 August 2015

Tips and tricks Cleaning a really dirty rosewood fret board

I thought I would start an occasional tips and tricks entry to share some of the things I have learned or developed myself to maintain, repair or get the best out of a guitar.
 
I recently took in  this lovely vintage Japanese Zenta. It's is in very good condition but very dirty. especially the fret board which has a large amount of ingrained grubbiness as can be seen from the first picture here. Must have been a gardeners guitar.
 

Most would get the wire wool out on this type of dirt but the problem with that I find is you have to go across the grain and this will show scratch marks unless you use very fine wire wool which will take an age to clean this kind of dirt and unless you have very good fret work with no gap between fret and board  I find it leaves tiny bits of steel wool fragments catching under the frets.
I use a backed razor blade or a Stanley knife blade and gently scrape the dirt off. Moving between frets along the grain. at pretty much 90 degrees to the board You will find this very quickly and effectively removes the dirt. You will have some dirt compressed into the edges of the frets I use the very corner of the blade to slide right along the fret edge taking care not to dig into the wood.
You shouldn't have to worry about damaging the wood as long as you are firm don't push too hard and be careful not to slip which is quite easy if you go too fast.
If your fret board has wear or if it's shrunk a little and your fret dots are raised you can go a little harder taking the very top surface off the wood or dots off to even it up.  Believe it or not all the dust in the picture below is just the dirt and maybe a little of the dots that where ever so slightly proud of the board.

 
Use a brush to brush off the dust and hey presto one clean fret board.
You can see som lateral scratch marks these are from a previous clean or maybe from the original manufacture.
I also dressed and polished the frets at this stage.


To finish it off I apply two coats of Danish oil thinned 50 - 50 with white spirit. This sinks into the wood brings out the grain very nicely. levels off the surface and dries to a hard durable natural finish which should last for many years.
 
Of course dirt like this can be avoided by washing your hands before playing and cleaning the fretboard with a rag after playing or at least every time you change strings.