
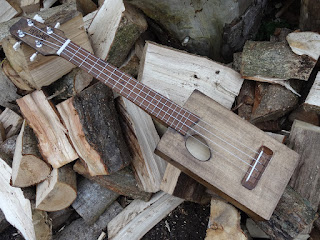
My firewood delivery arrived back in December and amongst them where several square chunks of poplar So I thought I would challenge myself to build an instrument out of one.
All wooden instruments start of with a log at some point but rarely builders actually start with one preferring to use pre processed wood that is already planed dimensioned to make less work.
Here is the chopped log roughly 12" long and about 5" wide

First job is to process the wood so I cut as many 5mm thick slices as I could whilst still leaving a large enough block for the neck


Next was to rough shape the neck


I then glued on some sides to the headstock to increase the width

 Next was to sand the body panels and joint them together I only sanded them on the insides as it's easier to sand the outside once it's been made into a box.


2nd stain and coat of clear matt lacquer


All wooden instruments start of with a log at some point but rarely builders actually start with one preferring to use pre processed wood that is already planed dimensioned to make less work.
Here is the chopped log roughly 12" long and about 5" wide

First job is to process the wood so I cut as many 5mm thick slices as I could whilst still leaving a large enough block for the neck

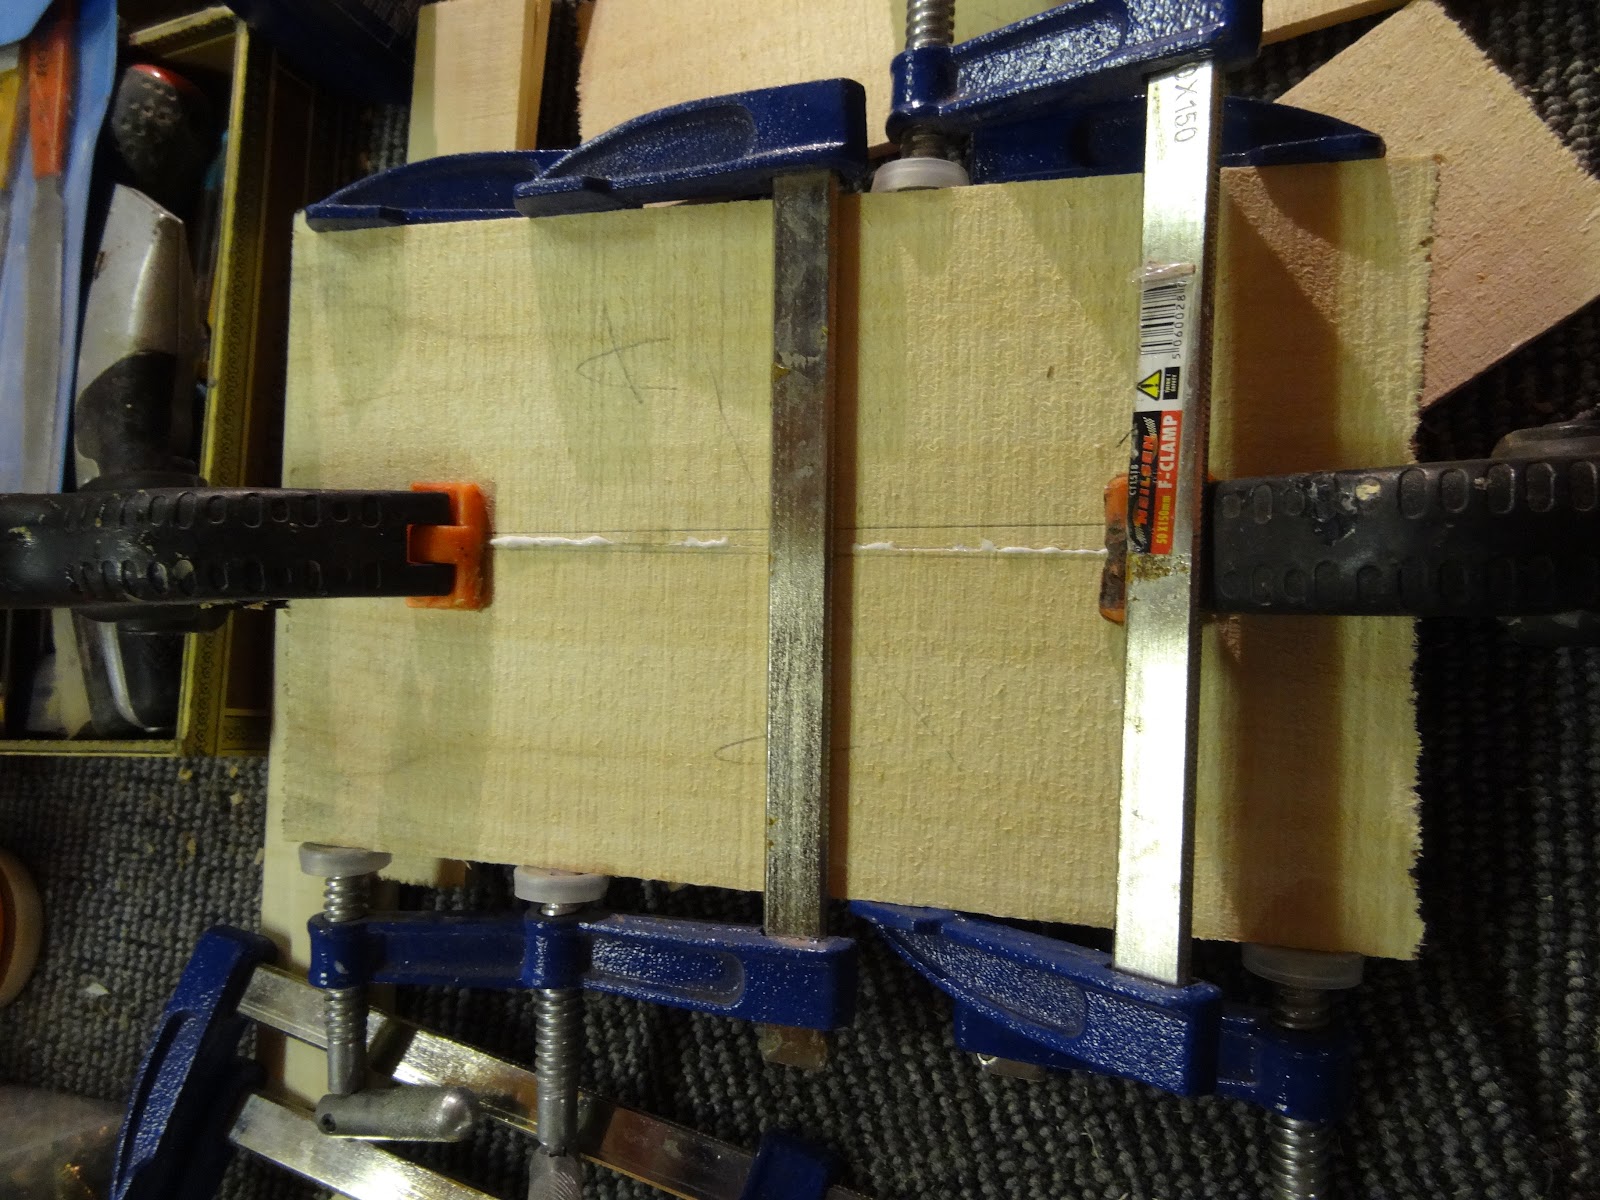
After measuring the neck pieces I realised I had enough to make a tenor scale but had to scarfe joint the headstock on. The poplar is really nice to scarfe joint as it's pretty fibrous and grips really well so only 1 clamp needed.


So at this stage I have the neck blank top and bottom which are in two halves and the sides and enough left over for bracing. I decided to use a thin slice of mahogany for the fretboard for extra stability and a bit of contrast although I did have enough to make it out of the log.


Along with the mahogany fretboard I decided on an Amazique bridge as the poplar wouldn't be strong enough for my design of bridge as the strings rest in slots.

The box construction is simply gluing little bars along the inside edges of the panels leaving a little recess for the sides to fit into (sorry forgot to take pics of this bit) Then clapming the sides down
The picture shows the top on here but that was only to hold it together as haven't put the bracing on yet.

Gluing the bracing you can see the inner frame that the sides fit into here. The bracing is simple I have no method really for a cigar box instrument my main concern it to re-enforce the top there is also the bridge plate that sits behind the bridge.

I made some dowels out of some of the poplar for the fret markers. (Unfortunately when I stained the uke these virtually disappeared)

So here is the neck Blank Mahogany fret board and Bridge all completed.

Next job is to glue the fretboard on (I always do this before shaping the neck).

Then final neck shaping

I cut an (not sure why but an egg shape took my fancy) sound hole
and glued the top on

Then once that was dry I sanded down the outside of the box thinning the top down to about 3mm
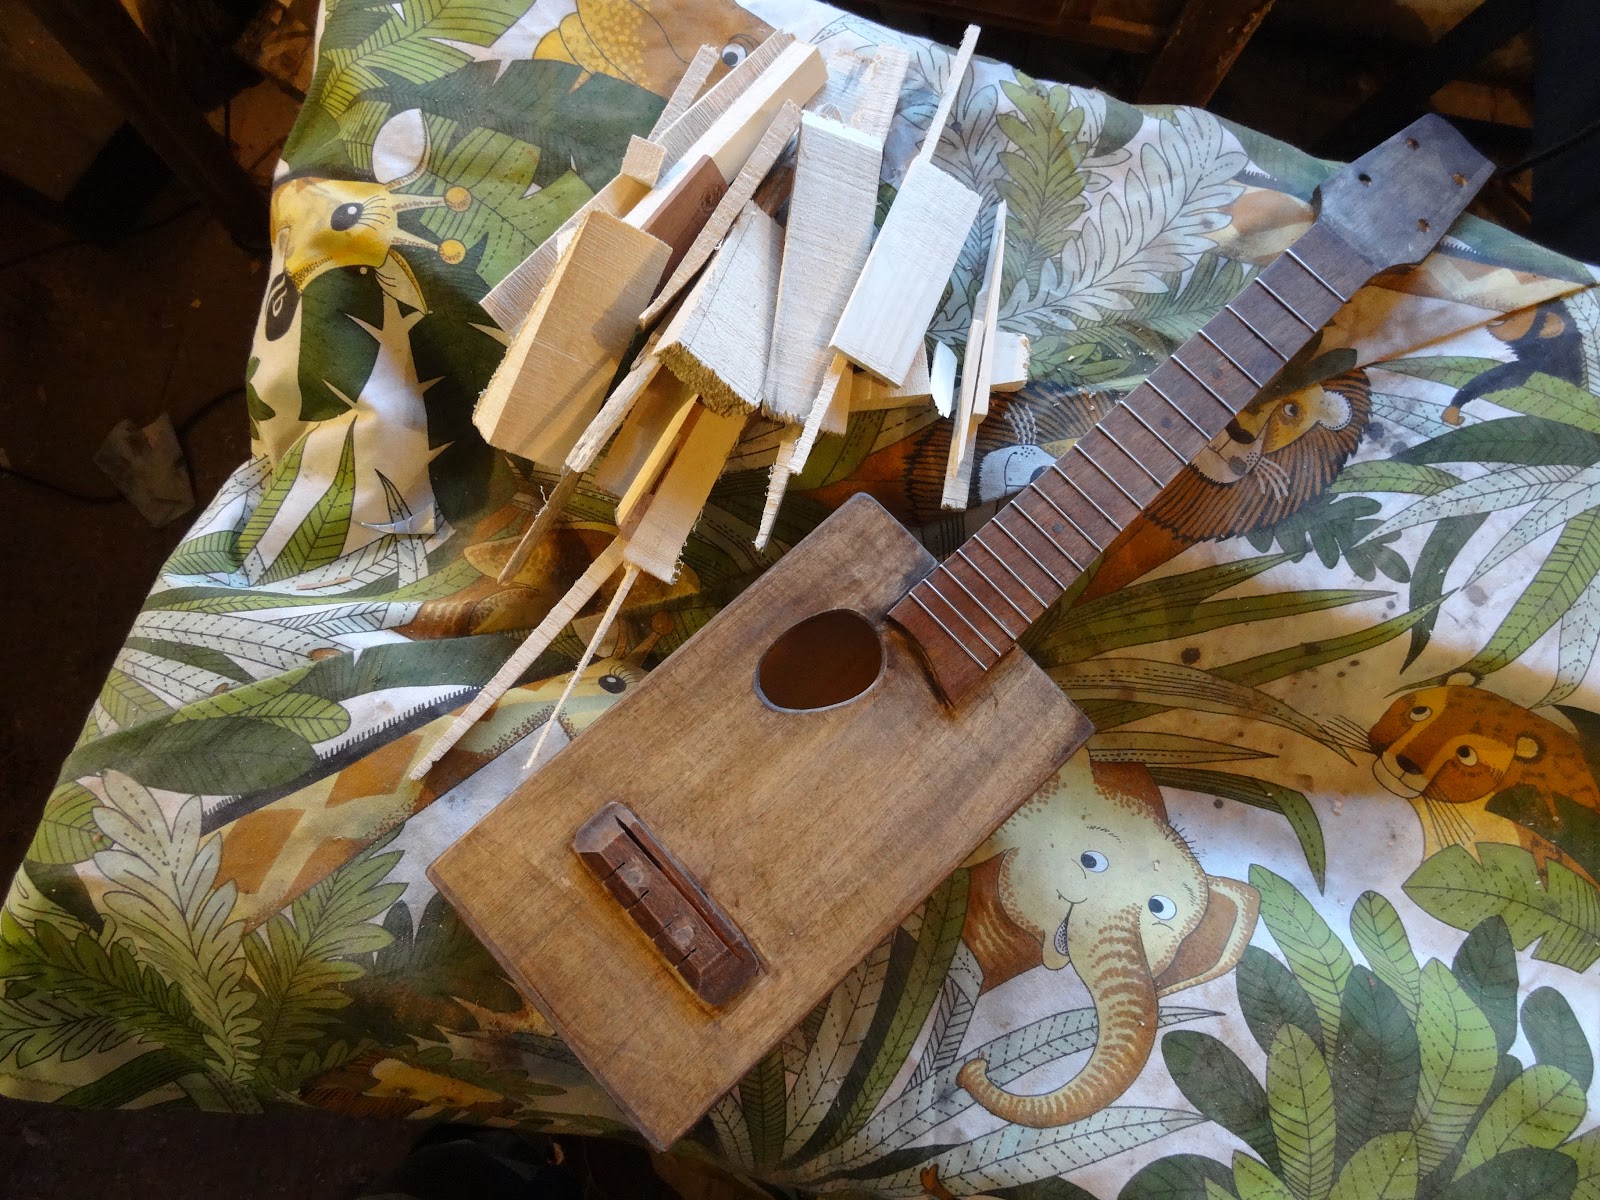
Here it is with the neck placed and bridge on to see what it would like completed.

Next job fretting the board and drilling the holes for machine heads

Once that's done its the job of gluing the neck on. Again sorry for the lack of pics but I glued in a rctangular block of poplar in the L shape of the heel and fret board and cut a slot in the top of the box to make a tenon joint. There is a heel block inside the box for this tenon to fit inside. A bar clamp to keep the heel against the body and a clamp to keep the fretboard on is all that's required.

To fit the bridge I drill two holes with a deep counter sink. Glue and screw the bridge. The screws go through to the bridge plate underneath the top. Then fill the countersunk hole with the rest of the dowell

1st stain going for my rustic aged look

I cut a corian nut and saddle fitted the machine heads strung it up(Sorry no pics again) and here is the finished Uke


And here is a video demo of the finished Uke