Thursday 7 July 2016

Fender Japan Oddity

I have recently been selling a collection of guitars for a family friend who sadly passed away earlier this year.
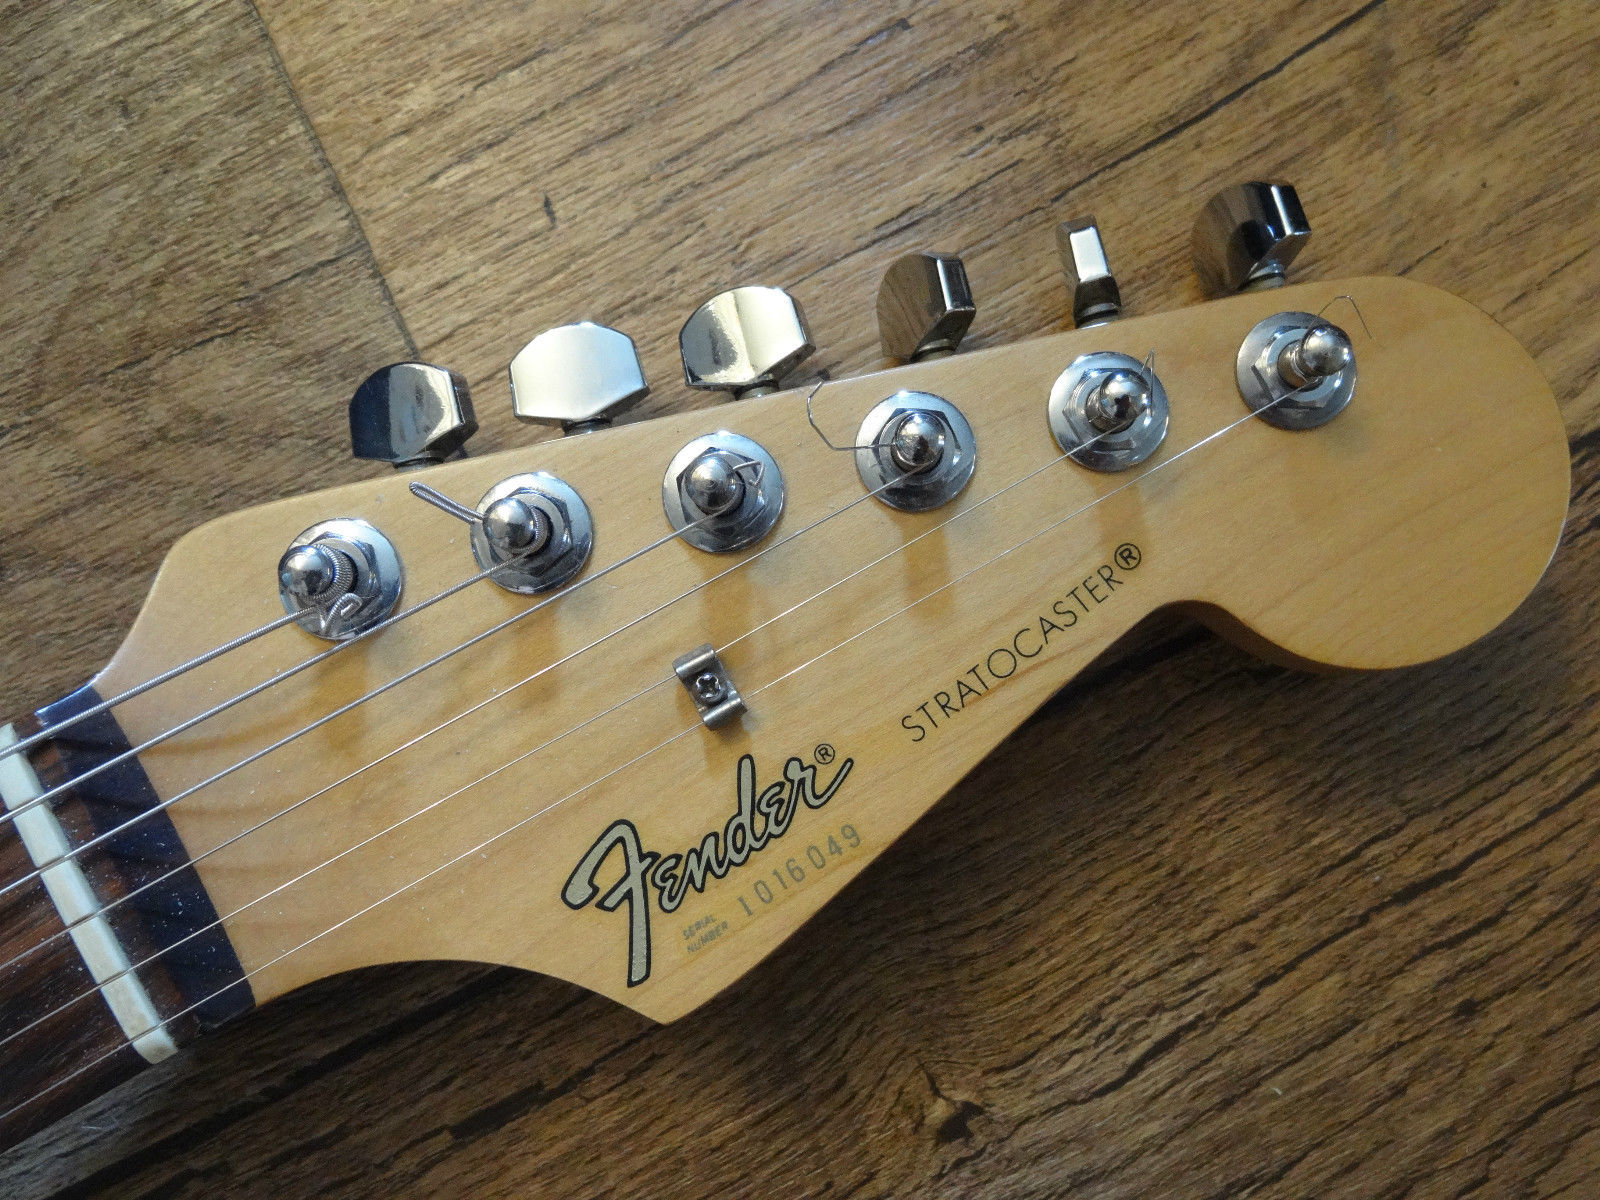
Among them was this fender Japan Stratocaster from 1989/90
There's not a lot of information about these hence why I thought it it would be good to write a blog entry on it.  I have trawled the internet and what follows is a roundup of information I have found.
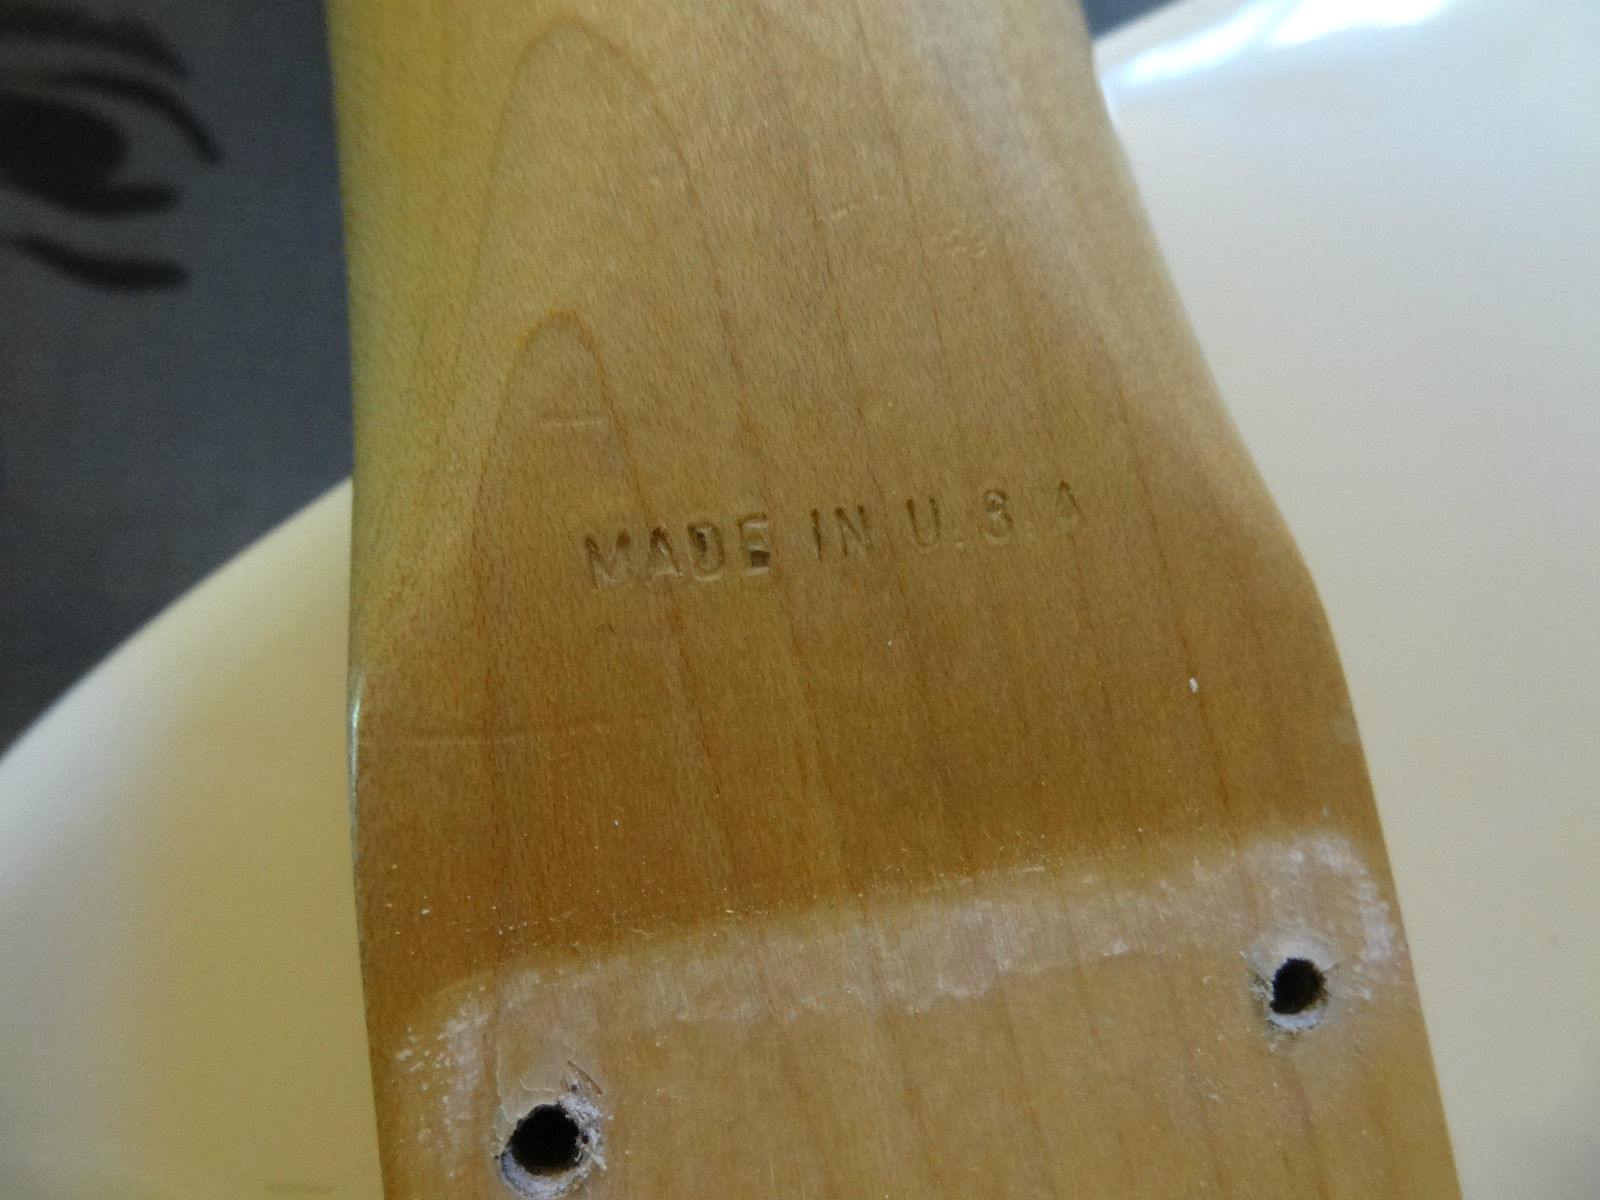
Most importantly on the fender website "A limited number of these “I” series guitars were made in 1989 and 1990. They were made for the export market and have “Made in USA” stamped on the neck heel."
Along with various opinions in forums etc. so we know they exist and there are (a very few) pictures of others.
The machine heads are the same as ones found on USA made Squier stratocasters in the 80's
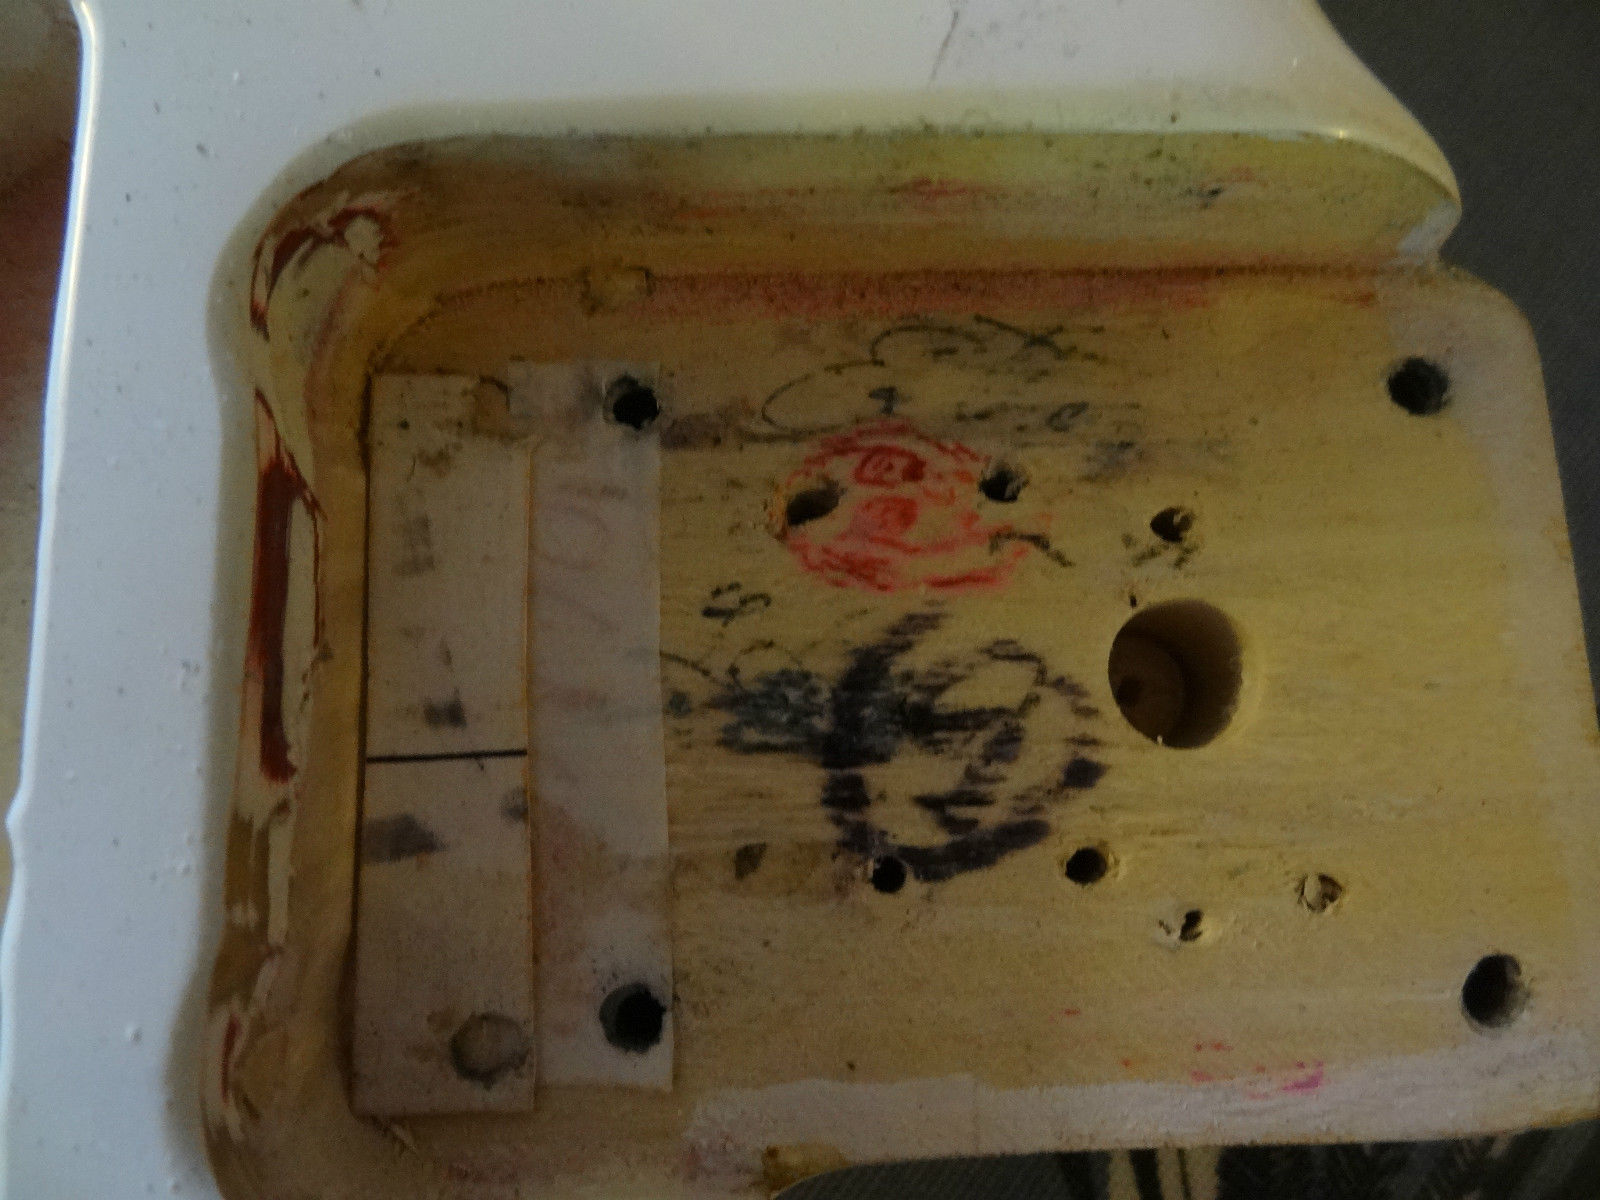
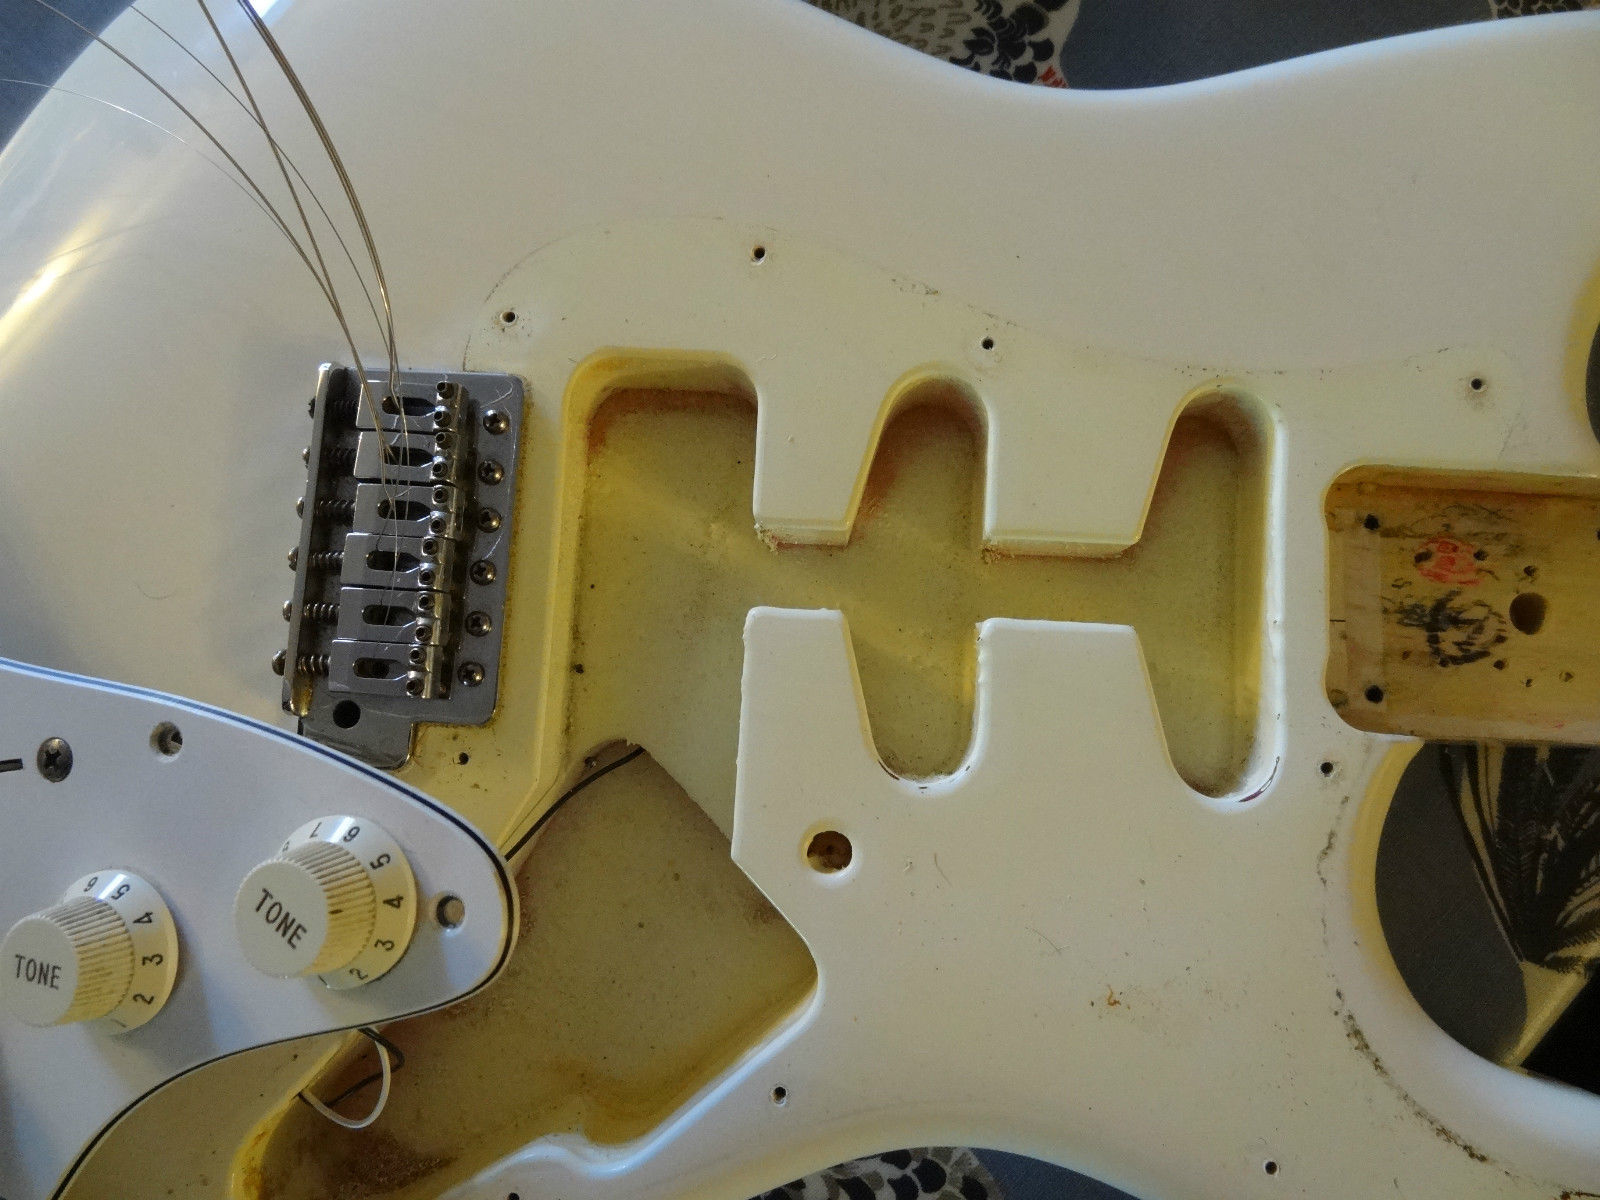
The body is solid wood Not sure of the type It looks like poplar but feels too heavy!
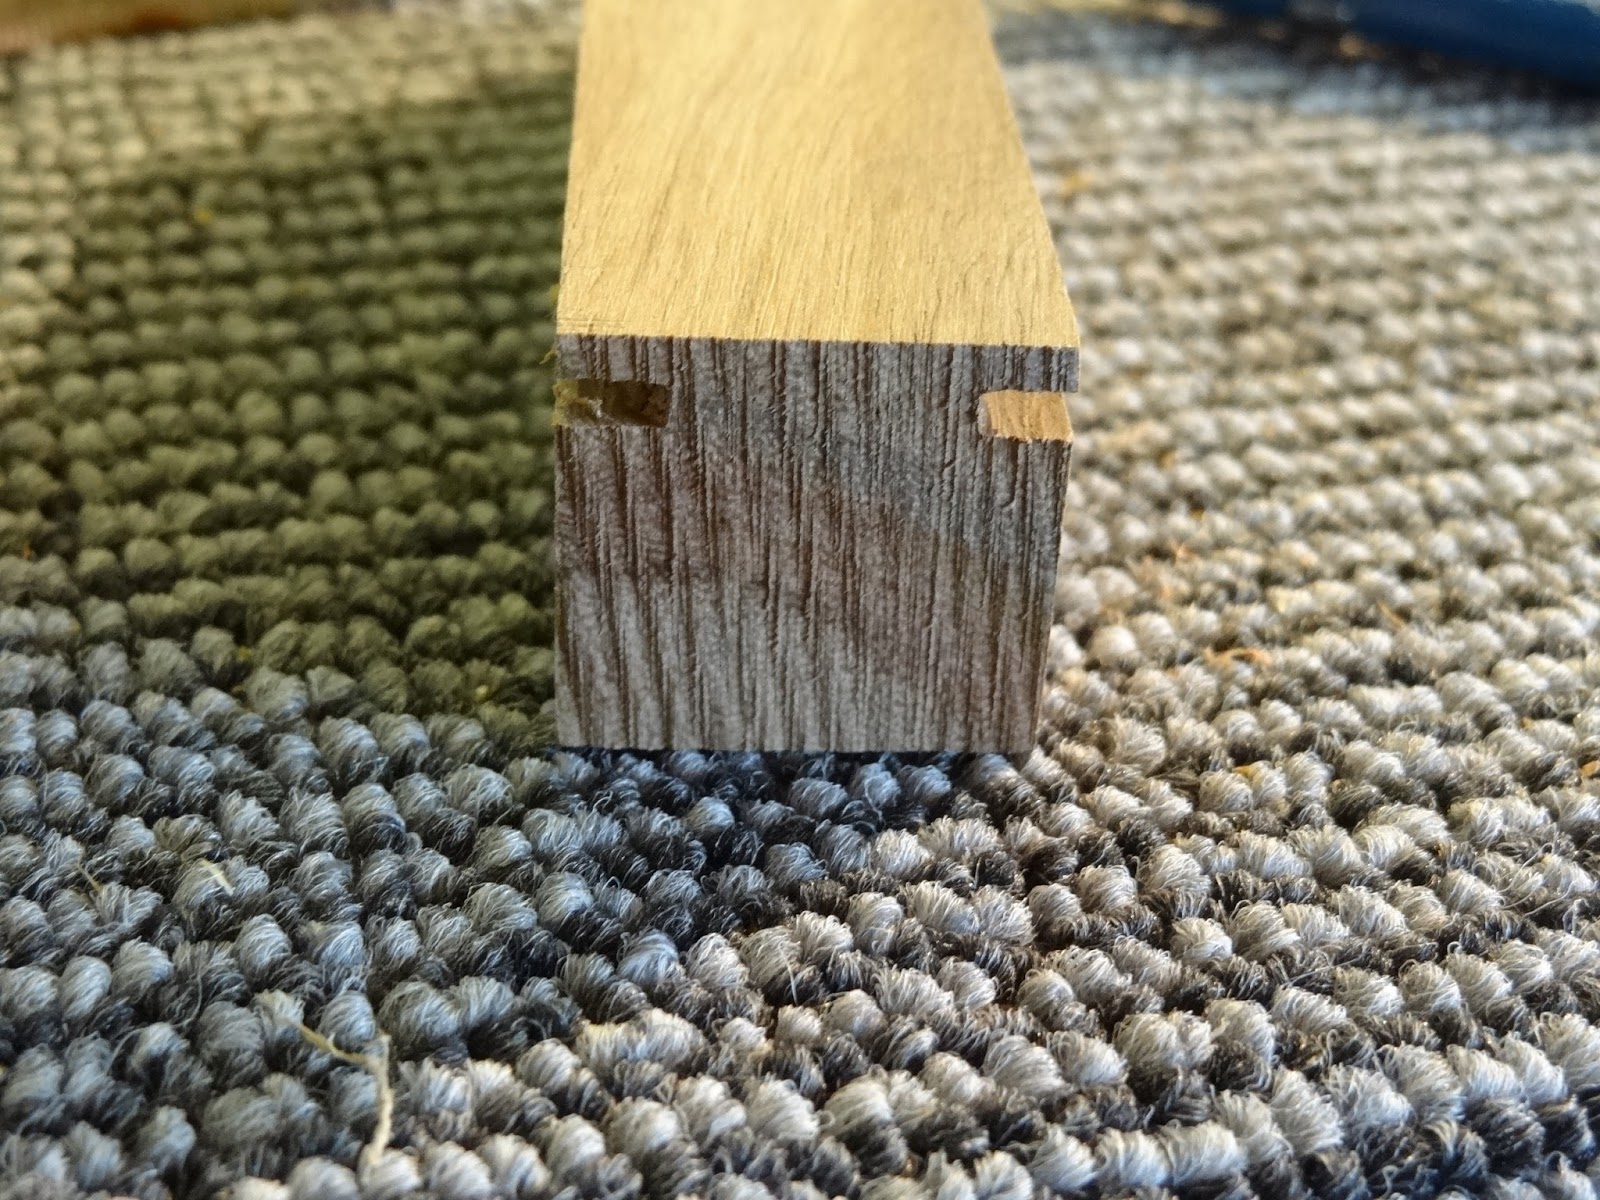
The neck looks and feels like a USA neck. It has the truss rod adjustment in the heel. Maple and rosewood.
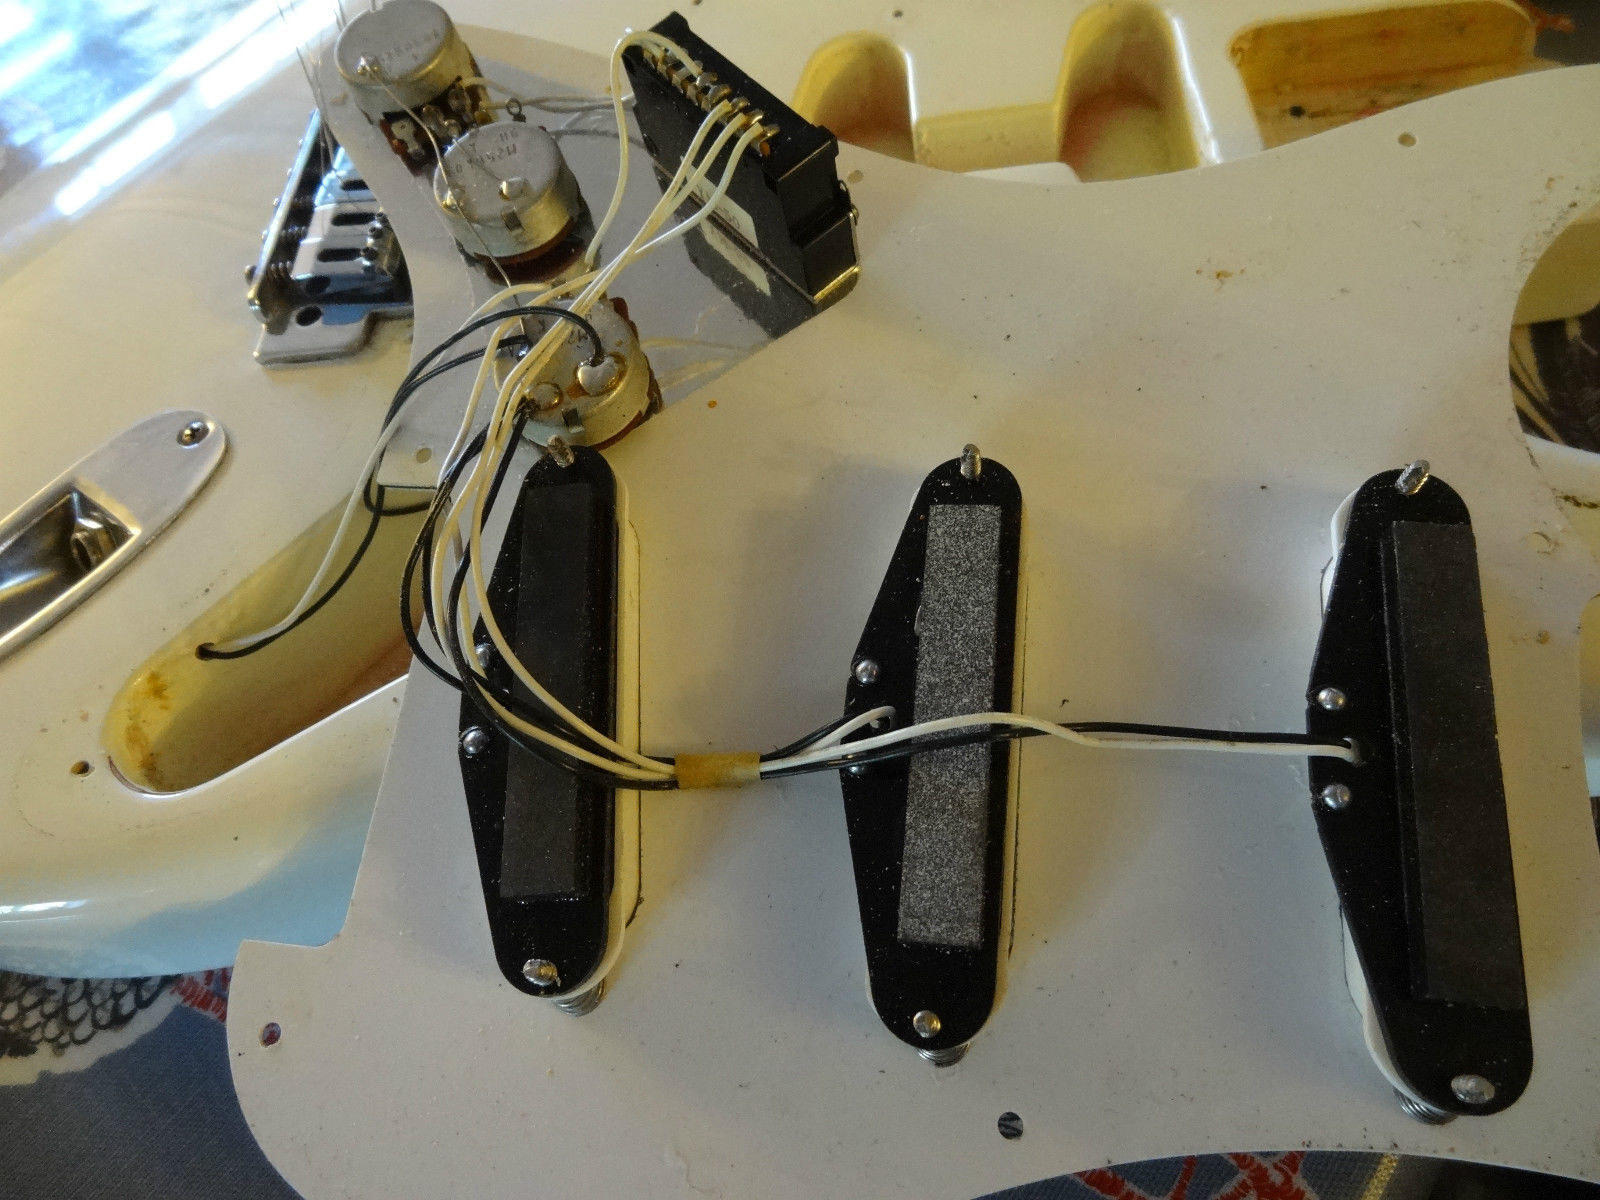
The pickups and controls are MIJ ones mostly used on E series Squiers of the same era which where made in the same plant.
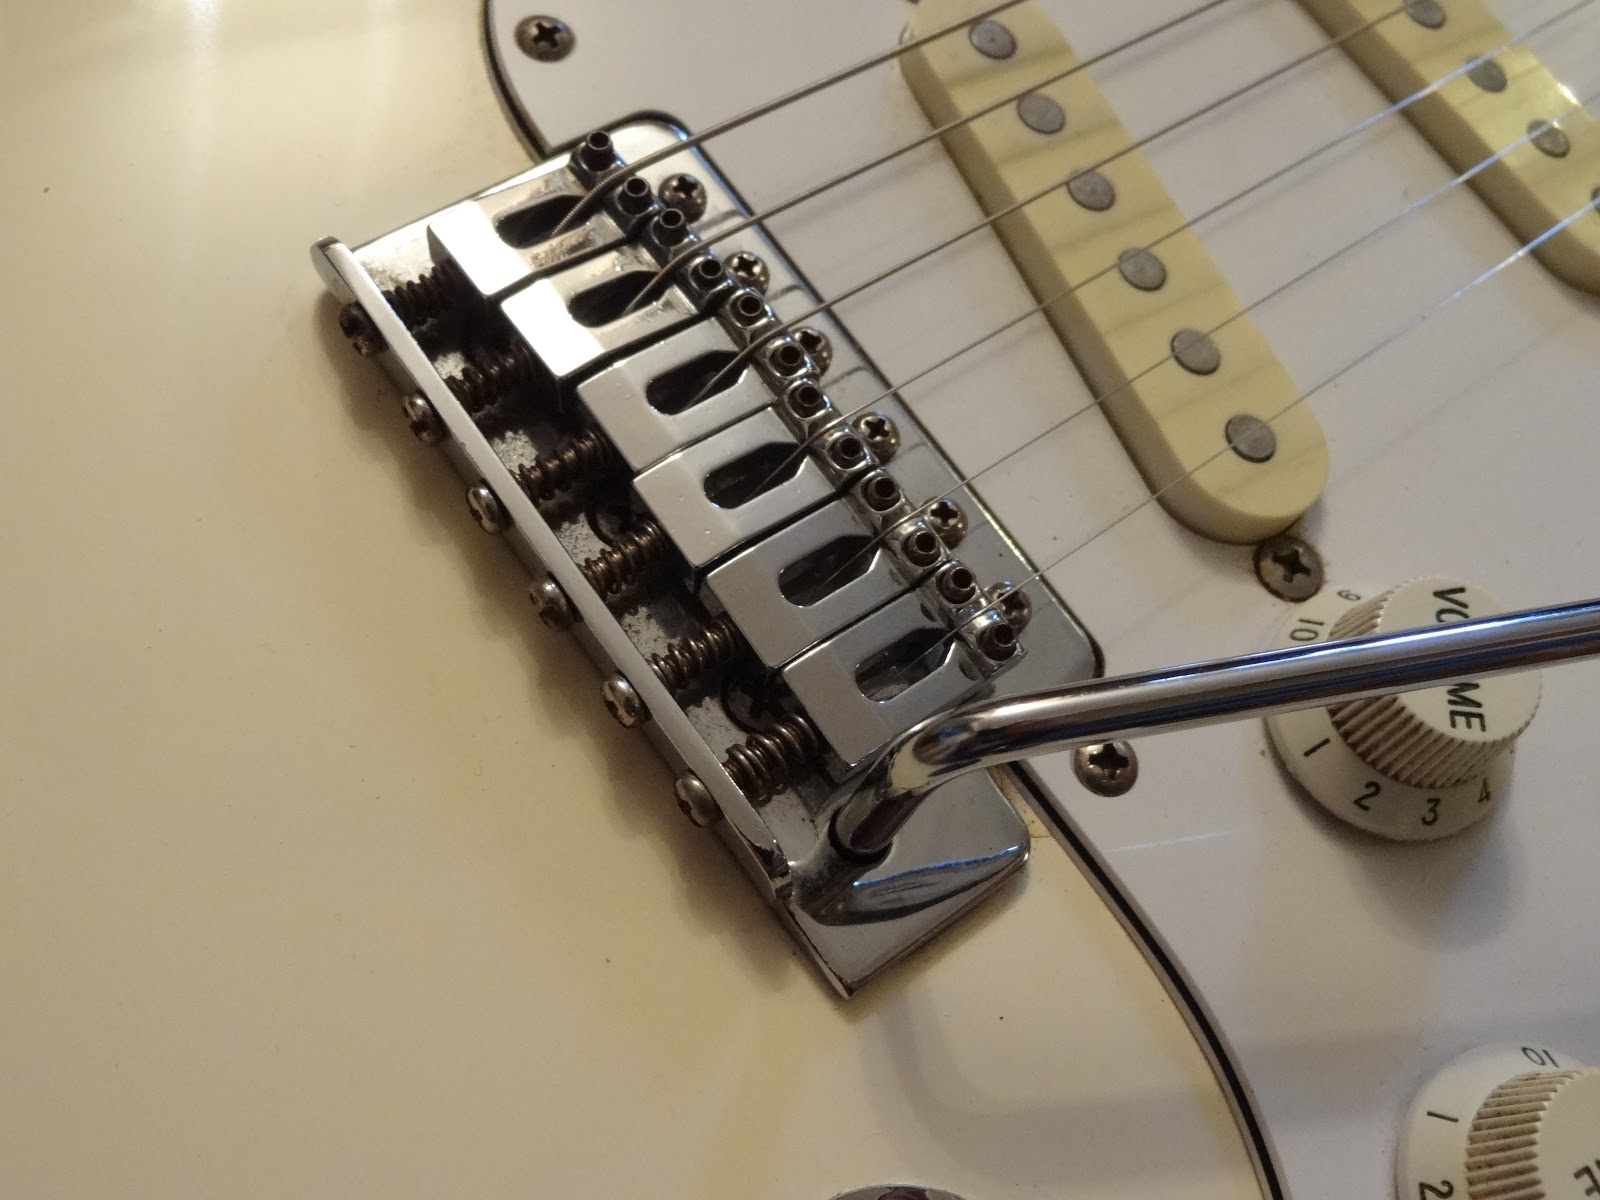
The Tremolo also is Typical of Japanese Squiers of that era.
My best guess these where made from overstocked parts from US and Japan and built for a budget line at the time. there are a few odd fender USA/Mexican/Squier japan/Korean hybrid mashups of this era in Fenders History.   I have only sold a Mexican Fender Squier series guitar from the same collection which was a Mexican body and neck with far eastern import hardware.
When I first saw this I thought it might be a fake or a partscaster at best.  but the quality of the neck threw me off.
Despite this It played very nicely and had a nice warm tone.
Any more information would be gladly received, The guitar is now sold.


Friday 15 April 2016

ShonKy Cricket Bat guitar or Cricket Batar.


I'm not the first person to have built a cricket bat guitar. famously captain sensible sported one although not a real cricket bat I believe.
I was asked If I could make one for a commission and I thought how hard can it be.
as it turns out, not as straight forward as you would think. but as I was going to make one I wanted it to be a good one.

I decided on a tune-o-matic bridge and decided to go for a string through rather than a tailpiece as the posts would have been close to the edge of the guitar.

Most electric guitar bodies are a flat piece of wood whereas a cricket bat doesn't have a flat straight side apart from thankfully the edges. the back is curved with a ridge which expands about two thirds of the way down. the front is concave curve along its length and an arched top more arched than a les paul.

I managed to route out the neck pocket and humbucker cavity without much drama as I could hold the bat in my vice with the top of the bat at the same level as the top of the vice jaws and the templates rested nicely across these.
My first couple of attempts at drilling the post holes  failed miserably due to not being able to keep the bat straight under my admittedly woeful pillar drill.  The distance was ok but the holes where at slightly different angles the bridge wouldn't sit on the posts.
This meant I had to make some jigs to hold the bat steady so I cut v shapes into some blocks of old wood roughly sanded them so the bat sat in them without moving. a bit of double sided tape ensured a steady hold and managed to drill the holes perfectly after that.

I also had to fashion a block of wood to make the neck joint wide enough for the screws, create recesses for the knobs to sit in, and also shape the inside curve of the pick up ring to match the curve of the body.

One thing I forgot to take into account was the holes for the wires. The natural place for the controls are behind the bridge and the jack socket fits nicely at the bottom of the bat but having drilled the holes for the posts and the strings I then had to some how navigate the holes from the control cavity to the pick up route. first attempt I went through the post hole which wasn't a problem as I used that for the earth second attempt I managed to get past all the holes but missed the pickup cavity luckily without exiting through anywhere else.  3rd attempt was successful.  I have a commission for another one and will probably go for a top loading bridge. maybe a wraparound type which would be simpler as a fender hard tail style will require a flat surface. .

Apart from those issues the remaining build was fairly straight forward and I really like the finished result Its very odd to play due to the small width and the ridge on the rear makes it want to lie slightly horizontally the best way is definitely on a strap fairly low strung. and it balances fairly well and I think I've knocked it over the boundary with this one :-D.


Monday 14 March 2016

The Homemade Instruments of Charles Birch

Charles Birch Playing his first Homemade fiddle.

I am an occasional member of the Watchet Makers Club one of the first meetings I went to, I met an elderly fellow Called Charles Birch and we got chatting and realised we both make musical instruments. He let me have is number and invited me over but I lost the number which annoyed me greatly. Anyway a year later he called me out of the blue so I finally went to meet him.

Charles Birch is a very healthy 86 years old and started making Instruments In the 90's  and is still kept busy with making and repairing and restoring folk instruments.

He makes fiddles, Cellos. Bowed Psaltery's, Ukuleles and upright double Basses. A friend of mine who I jam with has one of his Basses. It's a behemoth with an amazingly thumpy tone.


The first instrument Charles Made. A fiddle made from a chocolate Box.


Charles makes these with a few hand tools.   They are all built out of recycled timber with bought hardware.
They are solid as a rock and quite heavy but that doesn't detriment from the sound of them. Unfortunately I don't play fiddle or cello or bowed psaltery so my efforts where terrible. although The psaltery quite fascinated me.  Charles kindly demonstrated his skill at playing them for me. and they sounded great, much better than you would expect .


Charles playing his Cello


A bowed Psaltery


Another Fiddle

Its great to meet a fellow builder of "homemade" Instruments and amazing to think he has been building ans successfully selling  them regularly long before the current internet driven popularity.

Antony Moggridge


Monday 8 February 2016

How to make an easy string Ukulele Bridge.

Following is a really easy method to make 2 bridges for your cigar box Ukulele or equally good for a normal Ukulele. This bridge allows for really easy stringing method by simply tying a knot in the end of your string and slotting them in the back. You could follow this method for bridges with any amount of strings and depending on the toughness of the wood May be suitable for steel strings too although Ive only used it for Ukes. P.S The dimensions are by no means set in stone feel free to make it smaller bigger. Its up to you. This takes about 1/2 an hour to make two bridges using a bandsaw A pillar drill, slot cutting bit on the pillar drill and belt sander This should be fairly straight forward to do with handsaws and a hand held drill.

First you need a Block of Hardwood approximately 90mm long by 25mm square This is Aformosia
The next step is to mark cetre lines along one face this will be the rear or the bridge


 And then mark a line approx. 10mm from the rear  on either of the other faces which will be the top face
You can mark your saddle slot at this point to fit your saddle this one is 2mm from the front face and 2mm thick.
 On the rear centre line mark out your string spacing usually from 13 - 15mm these are 14mm
Then extend those lines to the line on top face


 Then 1mm in front of the line on the top face and at central points between the 1st and 2nd string line and 3rd and 4th string line mark 2 points. These will be the holes for your mounting screws.


Drill 4 10mm Holes on the centre point on the rear of the bridge 10mm deep


 Cut your saddle Slots. either with a saw chisel or I use a thin rotary slot cutting disc on a pillar drill.


 Cut the saddle slots to your required depth on both sides. You could probably just stick a fret or thin piece of saddle material on the top of the block forgoing the slot which can be a bit tricky without a slot cutting bit


At the points marked earlier on the top drill 2, 3mm holes right through the block


Then along the string centres cut 4 slots up to the 10mm line from the rear.


Then cut the block in half hey presto you now have two bridge blanks.


Then you need to sand the bottom just enough to get a flat surface


Then sand down the top so the Bridge is about 10mm thick You might want it a bit thinner or thicker to suit your particular build. You can leave the bridge square at this point or like I have on this one shape it. I do mine on a belt sander.
You may need to slightly widen the 2nd and 3rd string slot to accommodate the wider strings.
Finally countersink 6mm holes into the mounting screw holes about 5mm deep. Enough for the mounting screw to be recessed below the surface. the hole can then be filled with filler or plugged with a dowell or for a really nice touch place a fret marker dot that matches the fret board in the top.
Finally fine sand and its ready to fit to your Ukulele


Sunday 7 February 2016

2 recent solid body builds Reclaimed Oak Slide Blues guitar and an LP SG Inspired Yew Body guitar

These two solid body electrics where completed recently for commissions.
The first one is a solid body electric for mainly slide playing
Its built from reclaimed oak with a Maple neck through and a bubinga neck. The body was based on a parlour guitar shape but with quite an extreme cutaway.
The Customer wanted a Ry Cooder sound and wanted a goldfoil pickup as it happened I had a vintage Tiesco one in stock :-)
 He also wanted a rough and rustic look with originally an old tin sign for the pickguard and control plate but as original tin signs are at a premium price and repros don't really cut the mustard I managed to source an old bit of sheet brass for the job.
 It also features a Gretsch style filtertron pickup in the Bridge position The two are a bit mismatched output wise. I also decided on a hand carved german carve.


 It Also features a comfort belly cut on the rear.


The second was another singlecut with LP and SG attributes and to date the most expensive guitar I've built
 It Features a Body constructed of a Rosewood Centre Stripe with two Blocks of book matched Sapele then a rosewood pinstripe and English yew Wings.
The set neck is Sapele with a rosewood centre stripe and Ebony finger board with a 24 3/4" scale length.
 The Pickups are a Pair of "the Mule" Humbuckers from Bare Knuckle Pickups The Bridge and tailpiece is from Gotoh and the Machine heads are Kluson. The pickups are well respected and truly delivery the expected sound and it's nice to get the chance to use Boutique British made pickups every now and then :-) They are individually coil tapped too.


 Again it features a handcarved German carve which I'm quite a fan of it gives an extra Aesthetic line to the shape of the guitar.


Both went to very happy customers.